Azure Policy in Action: Cloud Compliance the Smart Way

Chris Bower, Microsoft Azure Consultant at Synextra
Article by:
Chris Bower
Microsoft Azure Consultant
Azure Policy in Actoin

Trying to keep your Azure environment consistent across multiple teams and projects?

Azure Policy is a powerful way to set the rules—and make sure they’re followed automatically. It helps you define exactly what should (and shouldn’t) happen in your cloud estate, from allowed VM sizes to mandatory tags.

That means fewer surprises, fewer misconfigurations, and less time spent chasing down non-compliant resources. It’s governance that actually enforces itself—no more relying on someone remembering to follow the rules.

In this post, we’ll explain: how Azure Policy works, how to navigate the Azure Policy portal, and examples of how to implement three key polices that will have an immediate impact.

If you’d prefer to watch Chris’s demonstration, watch below. Otherwise—let’s begin.

Azure Policy Explained: 3 Essential Rules You Should Be Using

What is Azure Policy?

Azure Policy is Microsoft’s native tool for enforcing governance across your Azure cloud environment—at scale. It allows you to create and apply rules that automatically control what can (and can’t) be deployed, ensuring your estate stays secure, compliant, and consistent without manual policing.

Think of it as a set of guardrails for your Azure environment. With Azure Policy, you can:

  • Restrict locations – Stop resources being deployed in regions that don’t meet your compliance requirements.
  • Enforce tagging – Make sure resources are labelled with critical metadata like environment, owner, or cost centre—no more orphaned VMs or mystery bills.
  • Prevent risky configurations – Block public IPs, enforce encryption, or deny unsupported SKUs.
  • Audit existing resources – See which resources drift out of compliance and why, with detailed reporting.
  • Apply policy at scale – Target policies at resource groups, subscriptions, or even entire management groups.

Azure Policy is also deeply integrated with Azure’s compliance and management tooling. You can bundle multiple policies together into Initiatives, monitor compliance status in the Azure Policy dashboard, and even remediate non-compliant resources automatically using DeployIfNotExists and Modify effects.

Whether you’re building out a secure-by-default landing zone, supporting a multi-team development environment, or just tired of chasing rogue resources—Azure Policy gives you a scalable, automated way to keep everything aligned with your standards.

How does Azure Policy work?

At its core, Azure Policy is built around policy definitions—these are the rules that say what’s allowed and what’s not within your Azure environment. You can apply these policies at different scopes, whether that’s a single resource group, a subscription, or even across multiple subscriptions bundled under a management group.

What’s clever is that these policies don’t just check once and forget. They evaluate resources at deployment time—so bad configurations can be blocked before they even land. Then, they keep monitoring resources continuously, flagging or even remediating any drift from your defined standards.

Microsoft provides thousands of built-in policies covering common governance needs—everything from enforcing tag usage, restricting VM sizes, to blocking public IP addresses. But if your organisation’s needs don’t quite fit, you can craft custom policies using JSON definitions tailored precisely to your rules and compliance requirements.

The real game-changer with Azure Policy is its ability to shift governance from reactive to proactive. Instead of scrambling to fix mistakes after the fact—like untagged resources, misconfigured security settings, or deployments in the wrong region—you set clear rules that prevent these issues from occurring in the first place. This approach saves time, reduces risk, and keeps your cloud estate clean and well-governed by design.

Getting started with the Azure Policy portal

Azure Policy Portal

When you first open Azure Policy in the portal, you land on the main dashboard. This gives you a high-level snapshot of your overall compliance status.

In this demo environment, things look pretty clean—mostly because there isn’t much happening yet. You’ll notice a couple of default assignments from Azure Security Center, which bundle several policies running in audit mode as part of the Cloud Security Benchmark. Beyond that, it’s mostly a blank slate waiting for you to take control.

Down the left side is your navigation menu, where five main areas will be your go-to spots:

  • Definitions
    This is where the policy logic lives. You’ll find hundreds of built-in definitions here, plus the option to create custom ones tailored to your specific governance needs.
    There are two types to know:

    • Policy — a single rule that checks conditions on your Azure resources.
    • Initiative — also called a policy set, this groups multiple policies together. Perfect for applying comprehensive standards like ISO 27001 or CIS Benchmarks.
  • Assignments
    This is where you apply policies or initiatives to a chosen scope—whether that’s a subscription, resource group, or management group. Assignments can include parameters, making policies flexible and reusable (for example, specifying allowed locations or mandatory tags).
  • Exemptions
    Need to carve out exceptions? Exemptions temporarily exclude specific resources from policy enforcement, useful for legacy systems, migration periods, or other special cases.
  • Compliance
    This section gives you a focused view of your compliance status. It breaks down which resources are compliant, which aren’t, and why some failed, making it easy to spot issues.
  • Remediation
    When policies support it, remediation lets you automatically fix non-compliant resources. You can create remediation tasks to bring existing resources back into line with your policies—saving time and effort.

Now that you know your way around the portal and what each section does, let’s dive into three common policy types that deliver real-world impact straight away.

Enforcing tags on Azure Resources

Azure Policy Enforce Tags

Let’s talk tags. In Azure, they’re essential metadata that help you organise and manage your environment more effectively. Tags provide context—highlighting what a resource is for, who’s responsible for it, and which cost centre it’s tied to. Without them, it becomes much harder to track spend, assign ownership, or maintain control.

By enforcing tags automatically during deployment, it removes the risk of human error and keeps your estate consistent. Every resource is properly labelled from the outset—making reporting cleaner, cost tracking easier, and accountability crystal clear.

Why enforce tags in the first place?

Tags might seem small, but they’re a key part of cloud governance. A few common examples:

  • Environment – Is the resource for development, testing, or production?
  • Owner – Who’s responsible for managing it?
  • CostCenter – Which team or department should be charged?

Enforcing tags means these details are applied consistently—either by blocking deployments that are missing them or automatically assigning default values. Either way, it keeps your estate clean and well-organised.

How to set up tag enforcement in Azure Policy

Here’s a step-by-step guide to enforcing tags using a built-in Azure Policy:

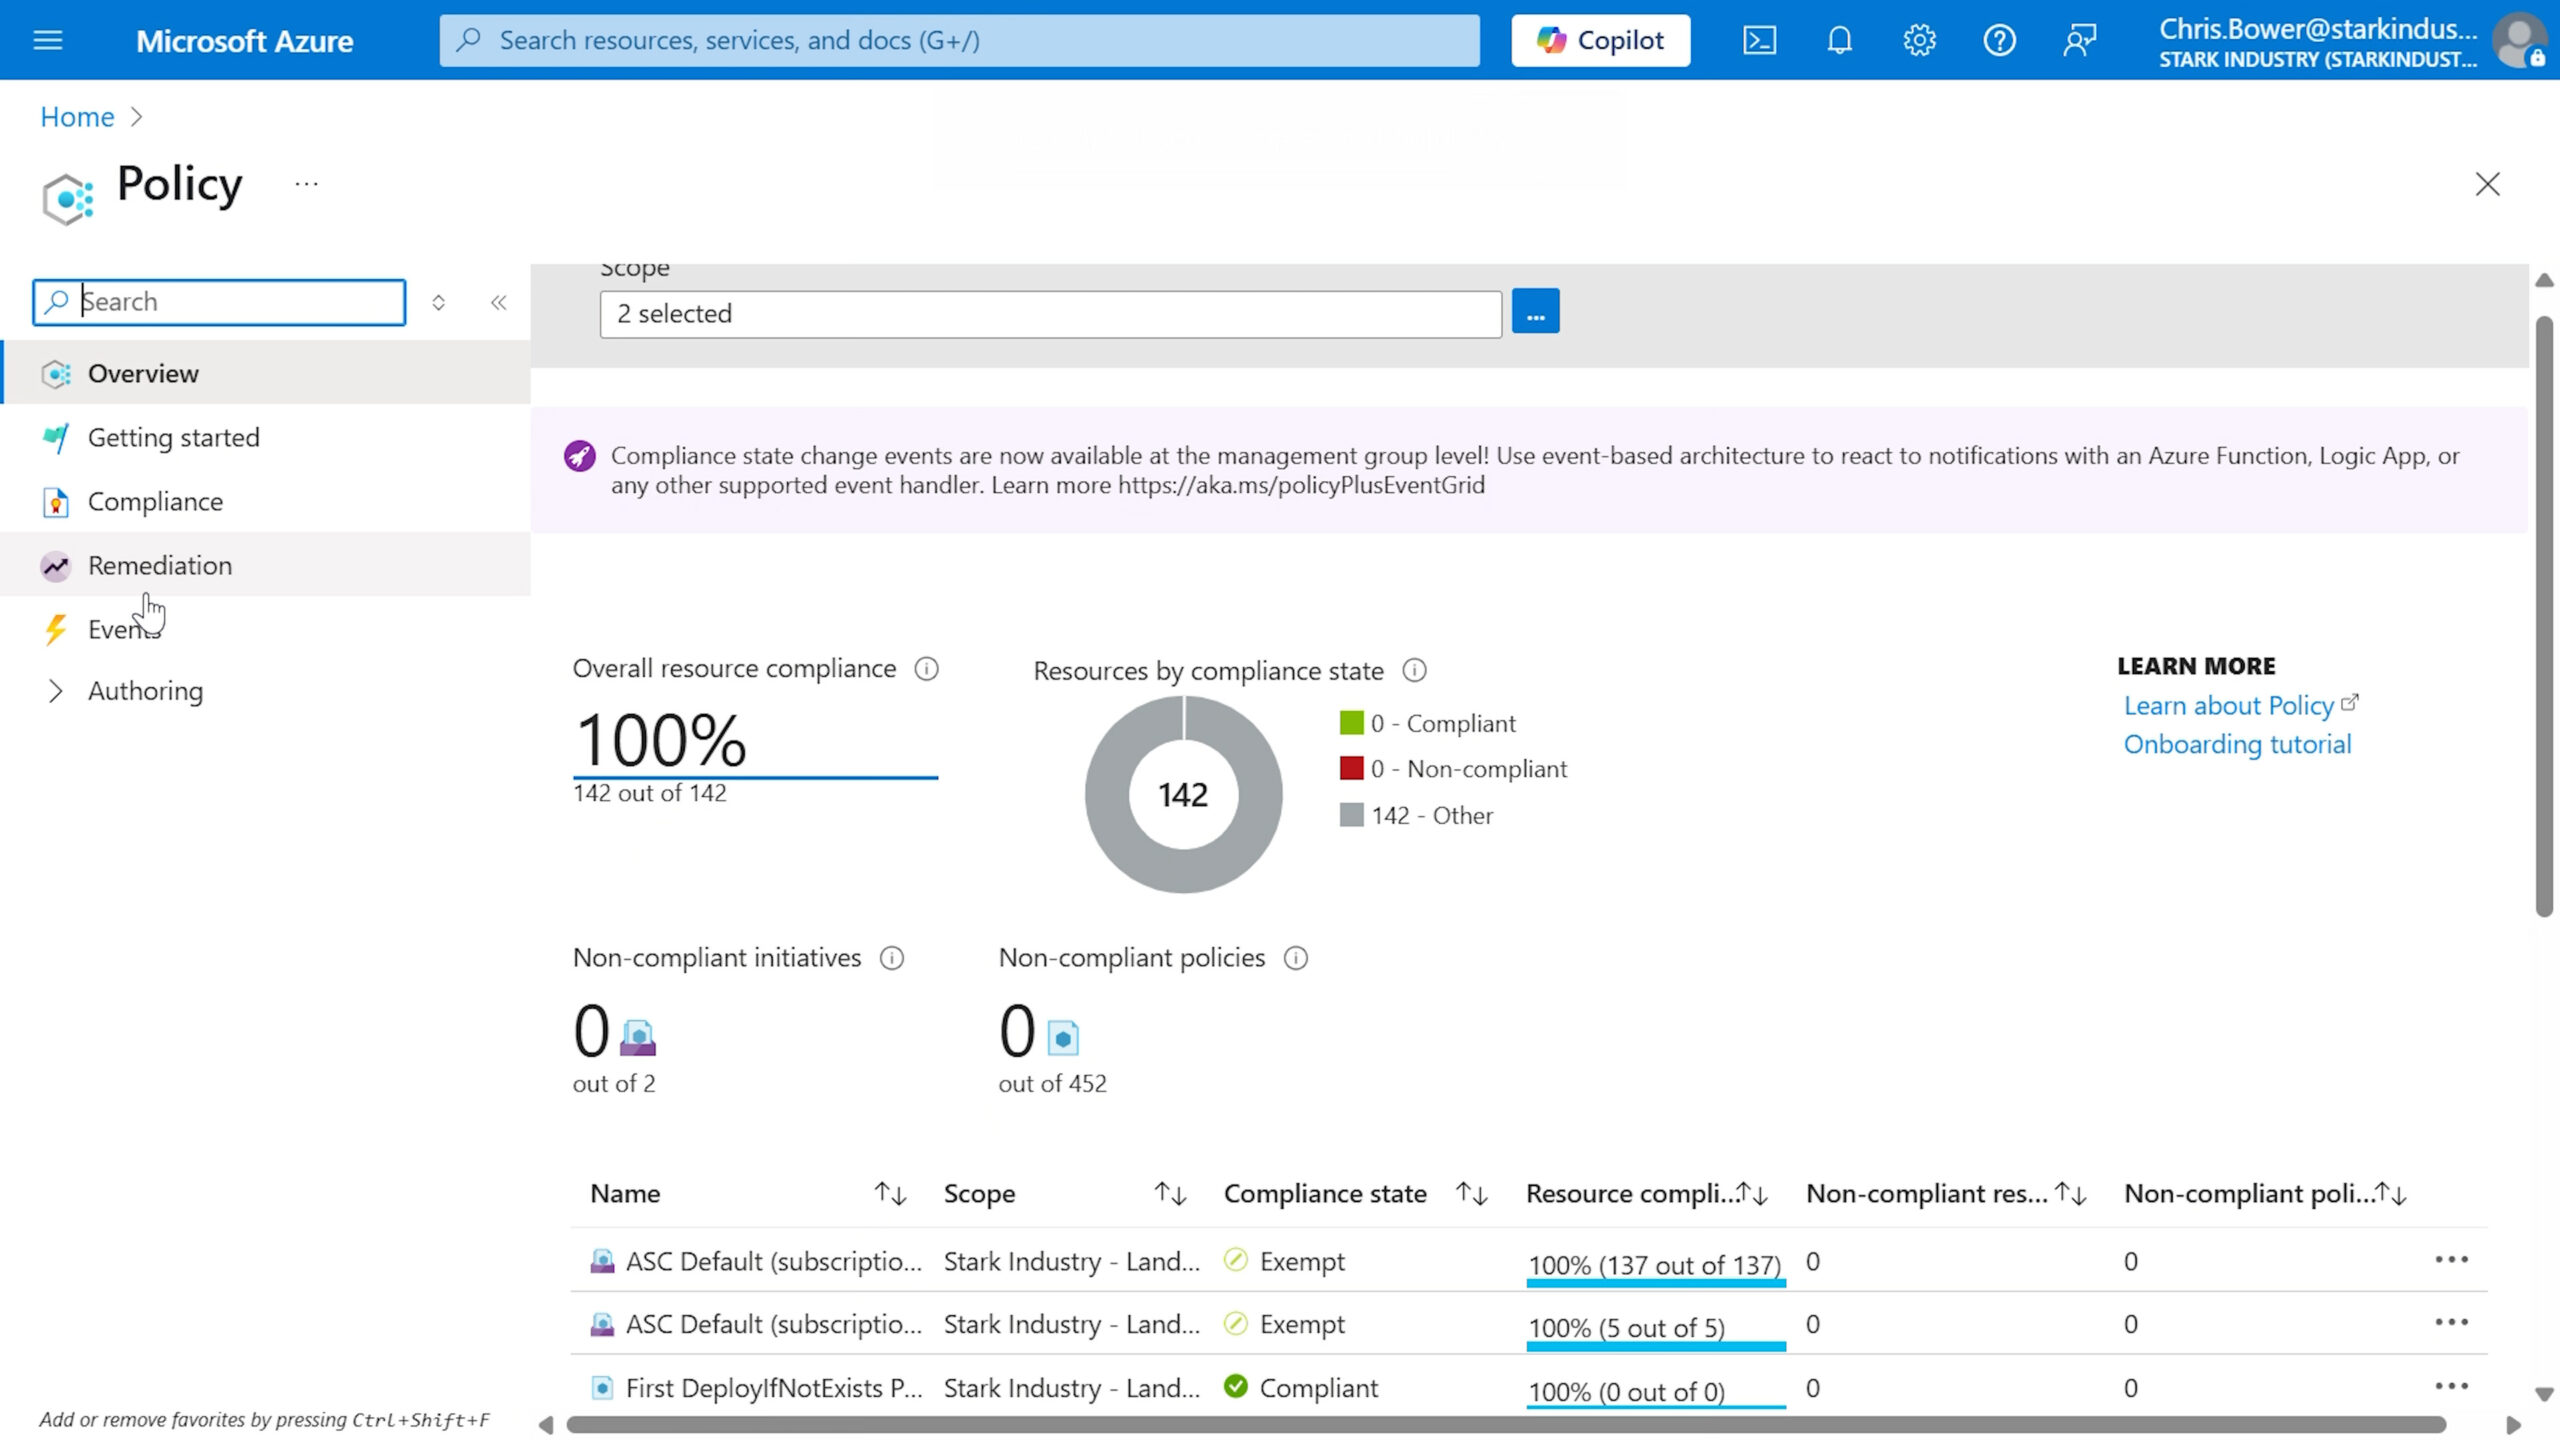
  1. Go to the Azure Portal and search for Policy.
  2. In the left-hand menu, click Definitions.
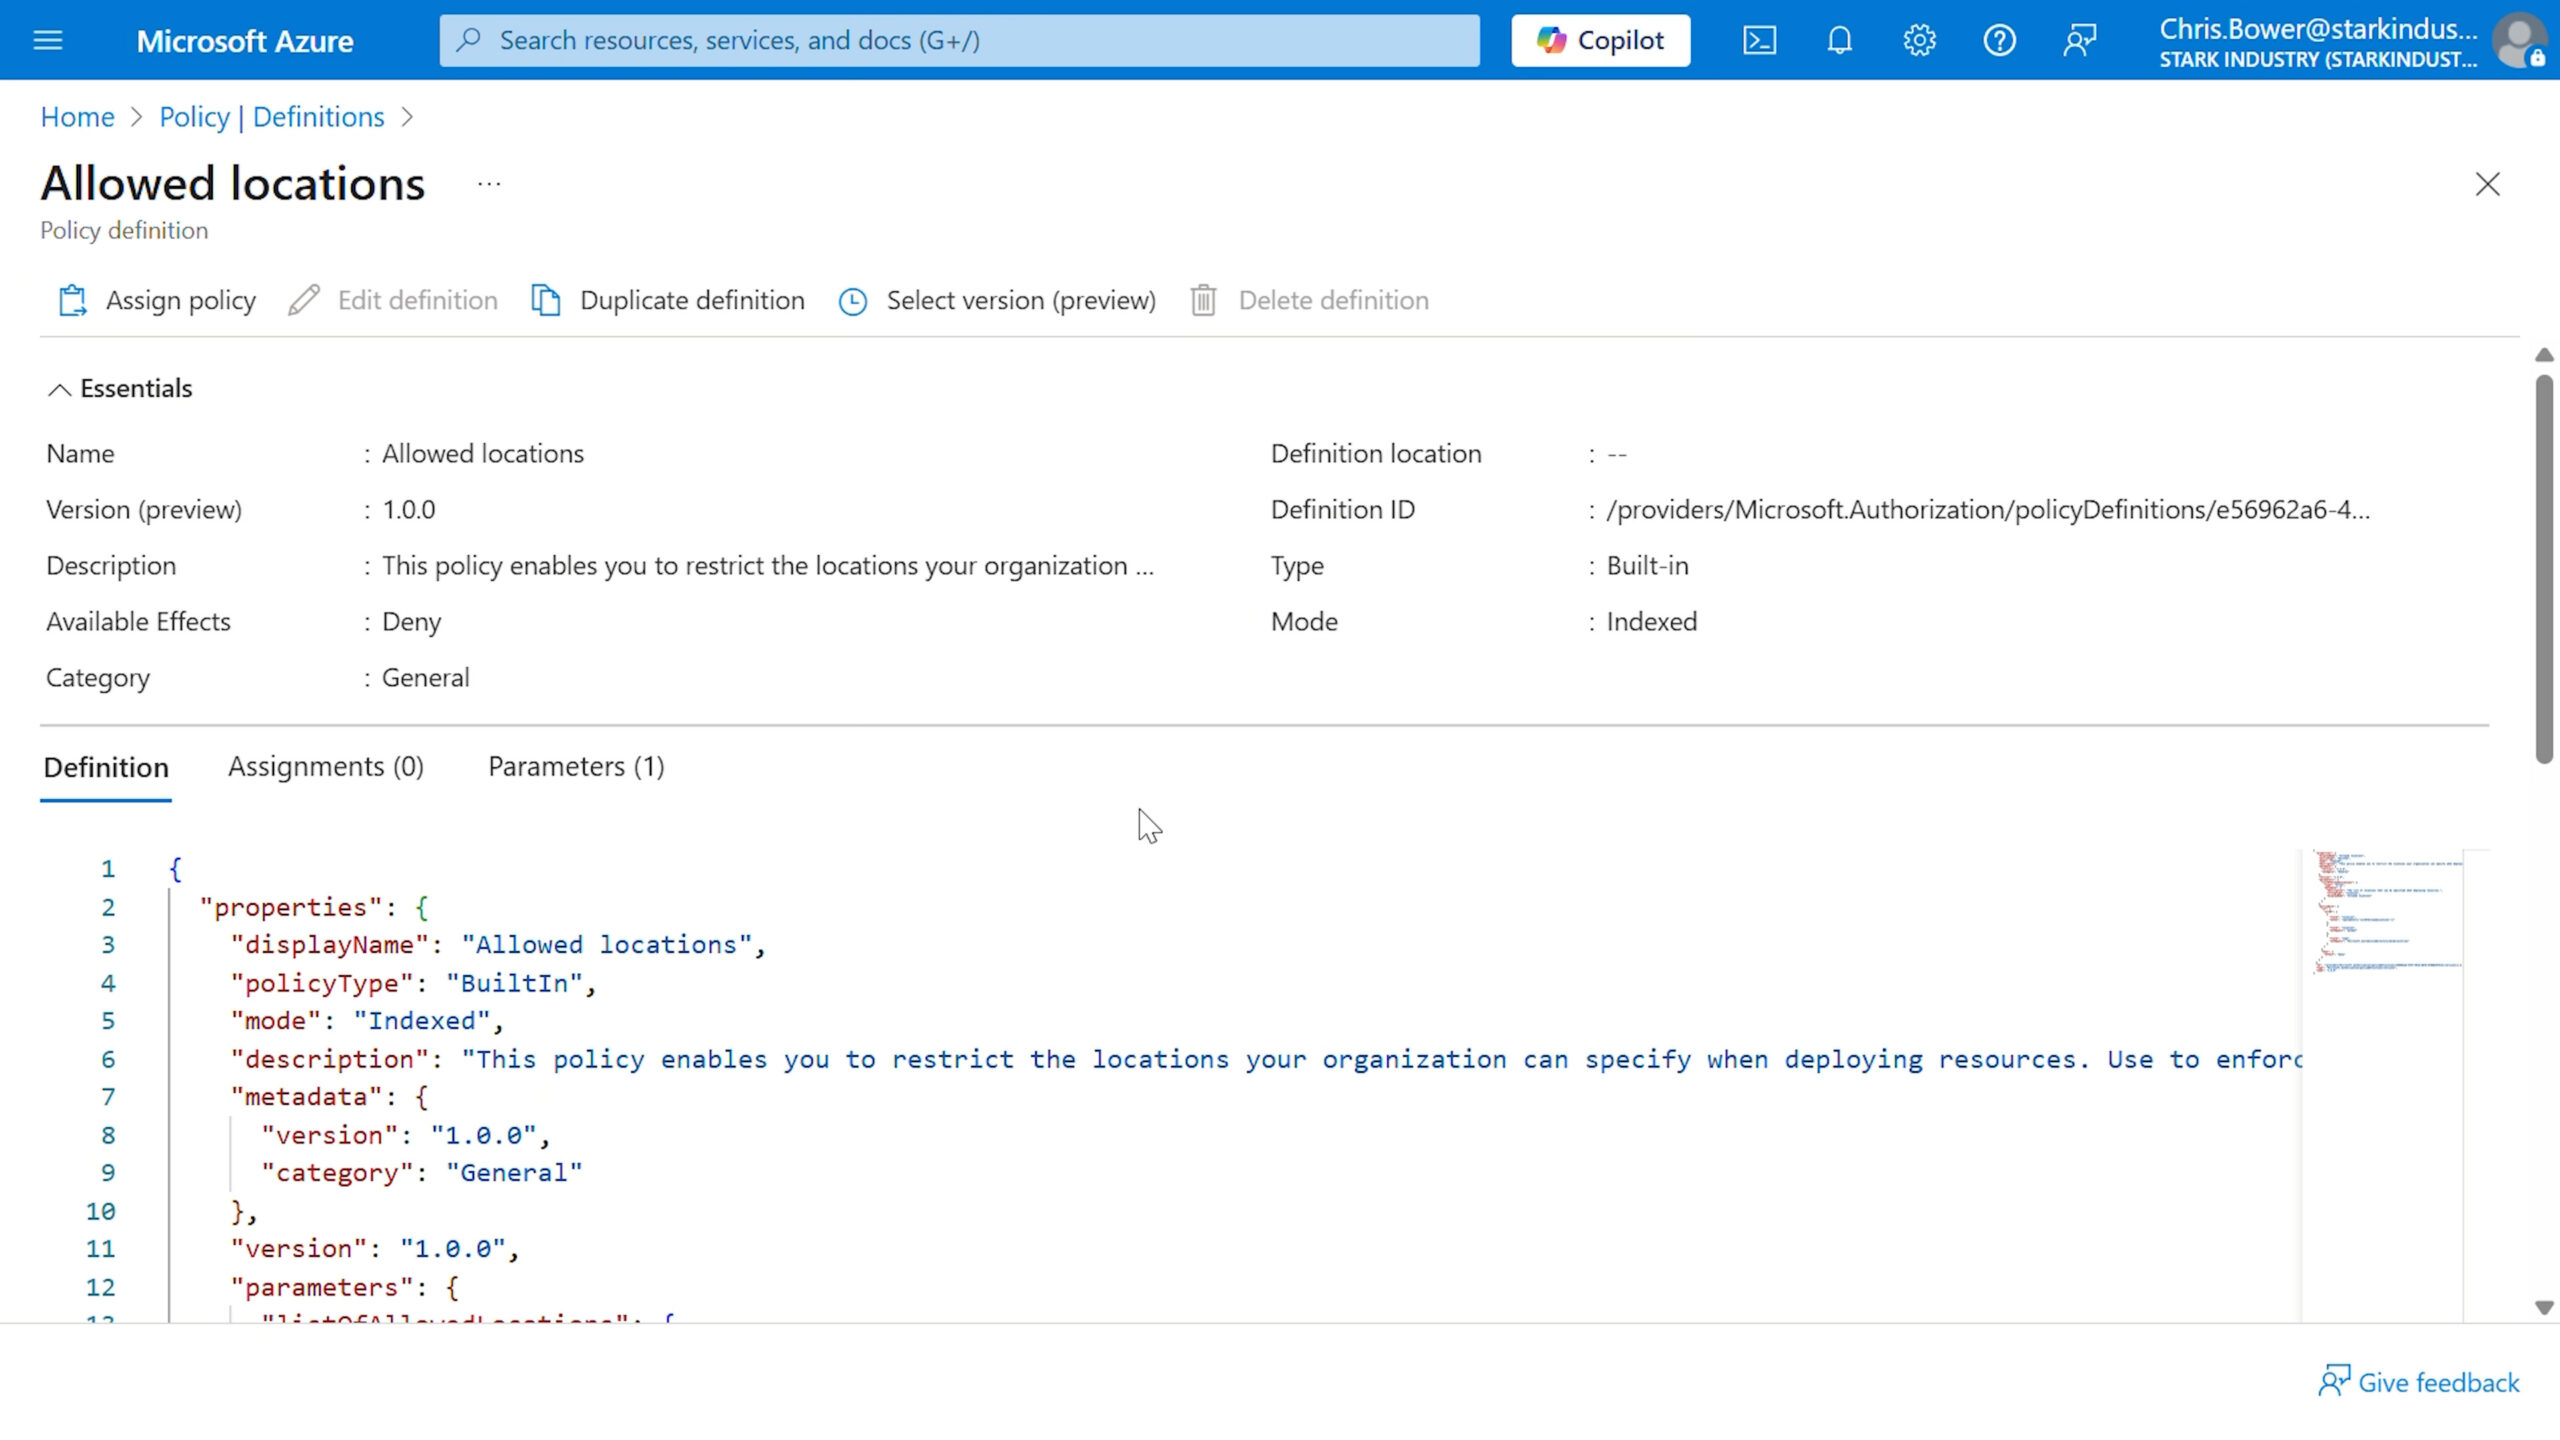
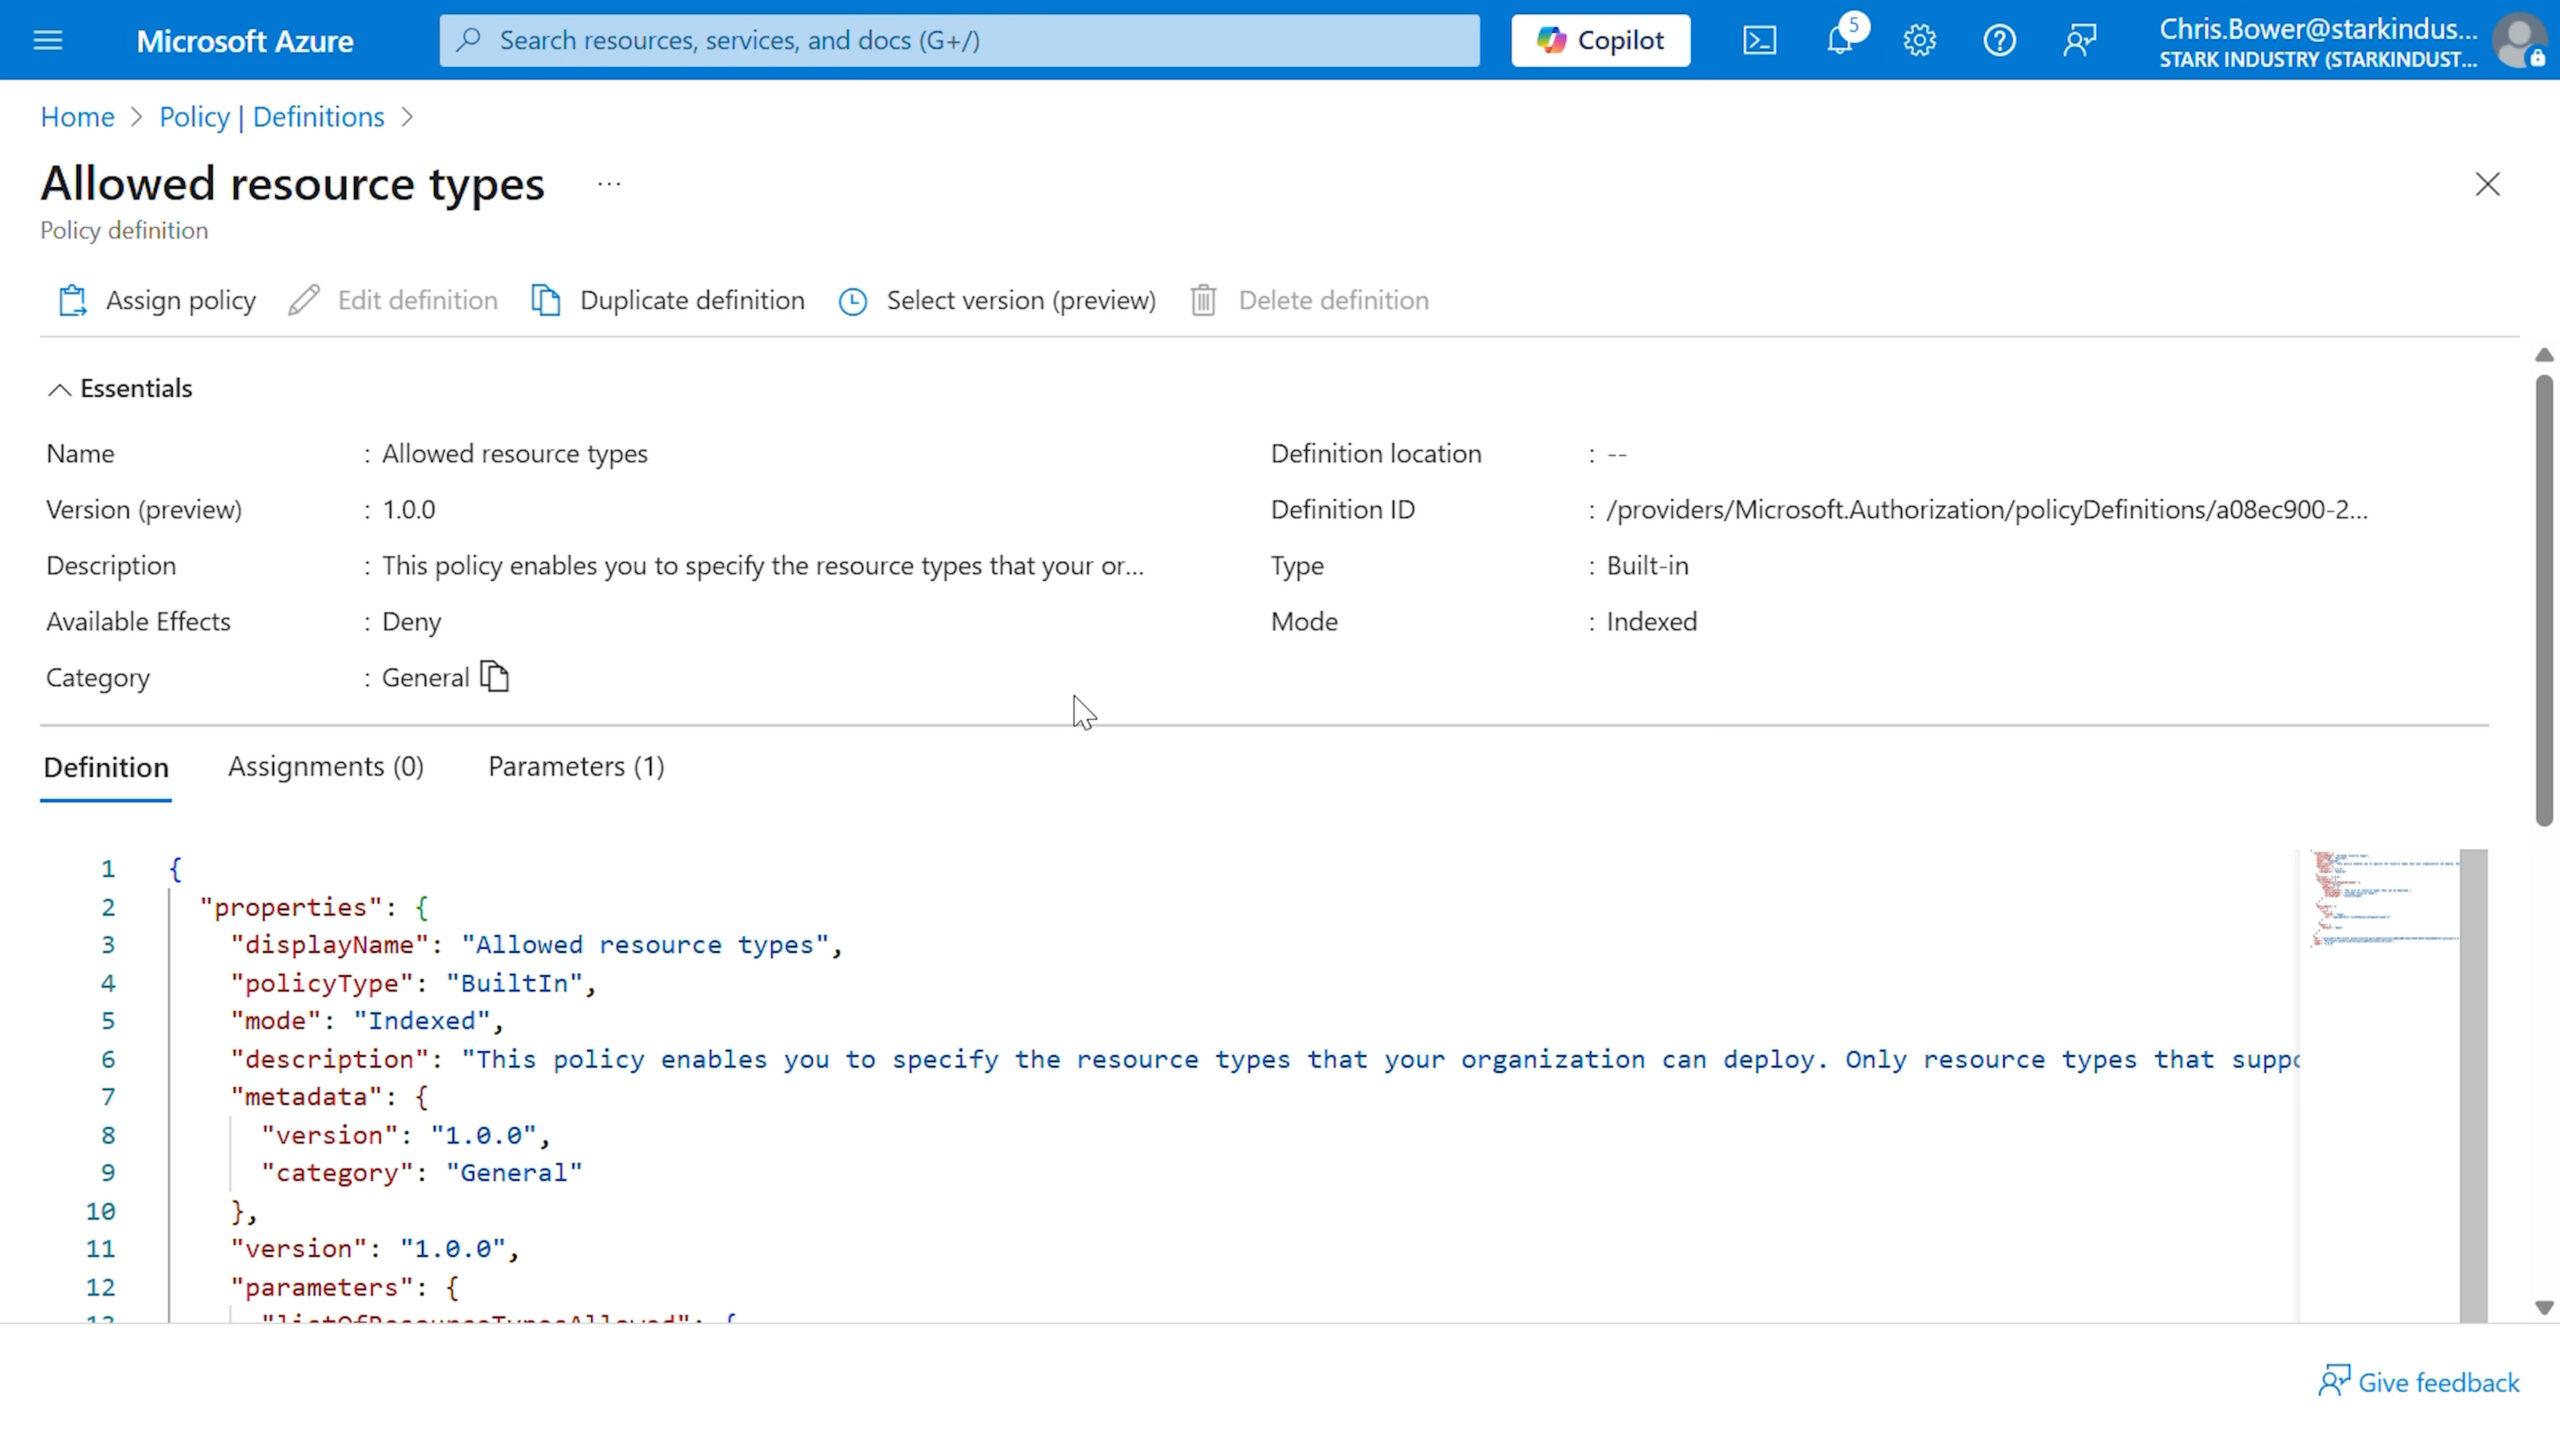
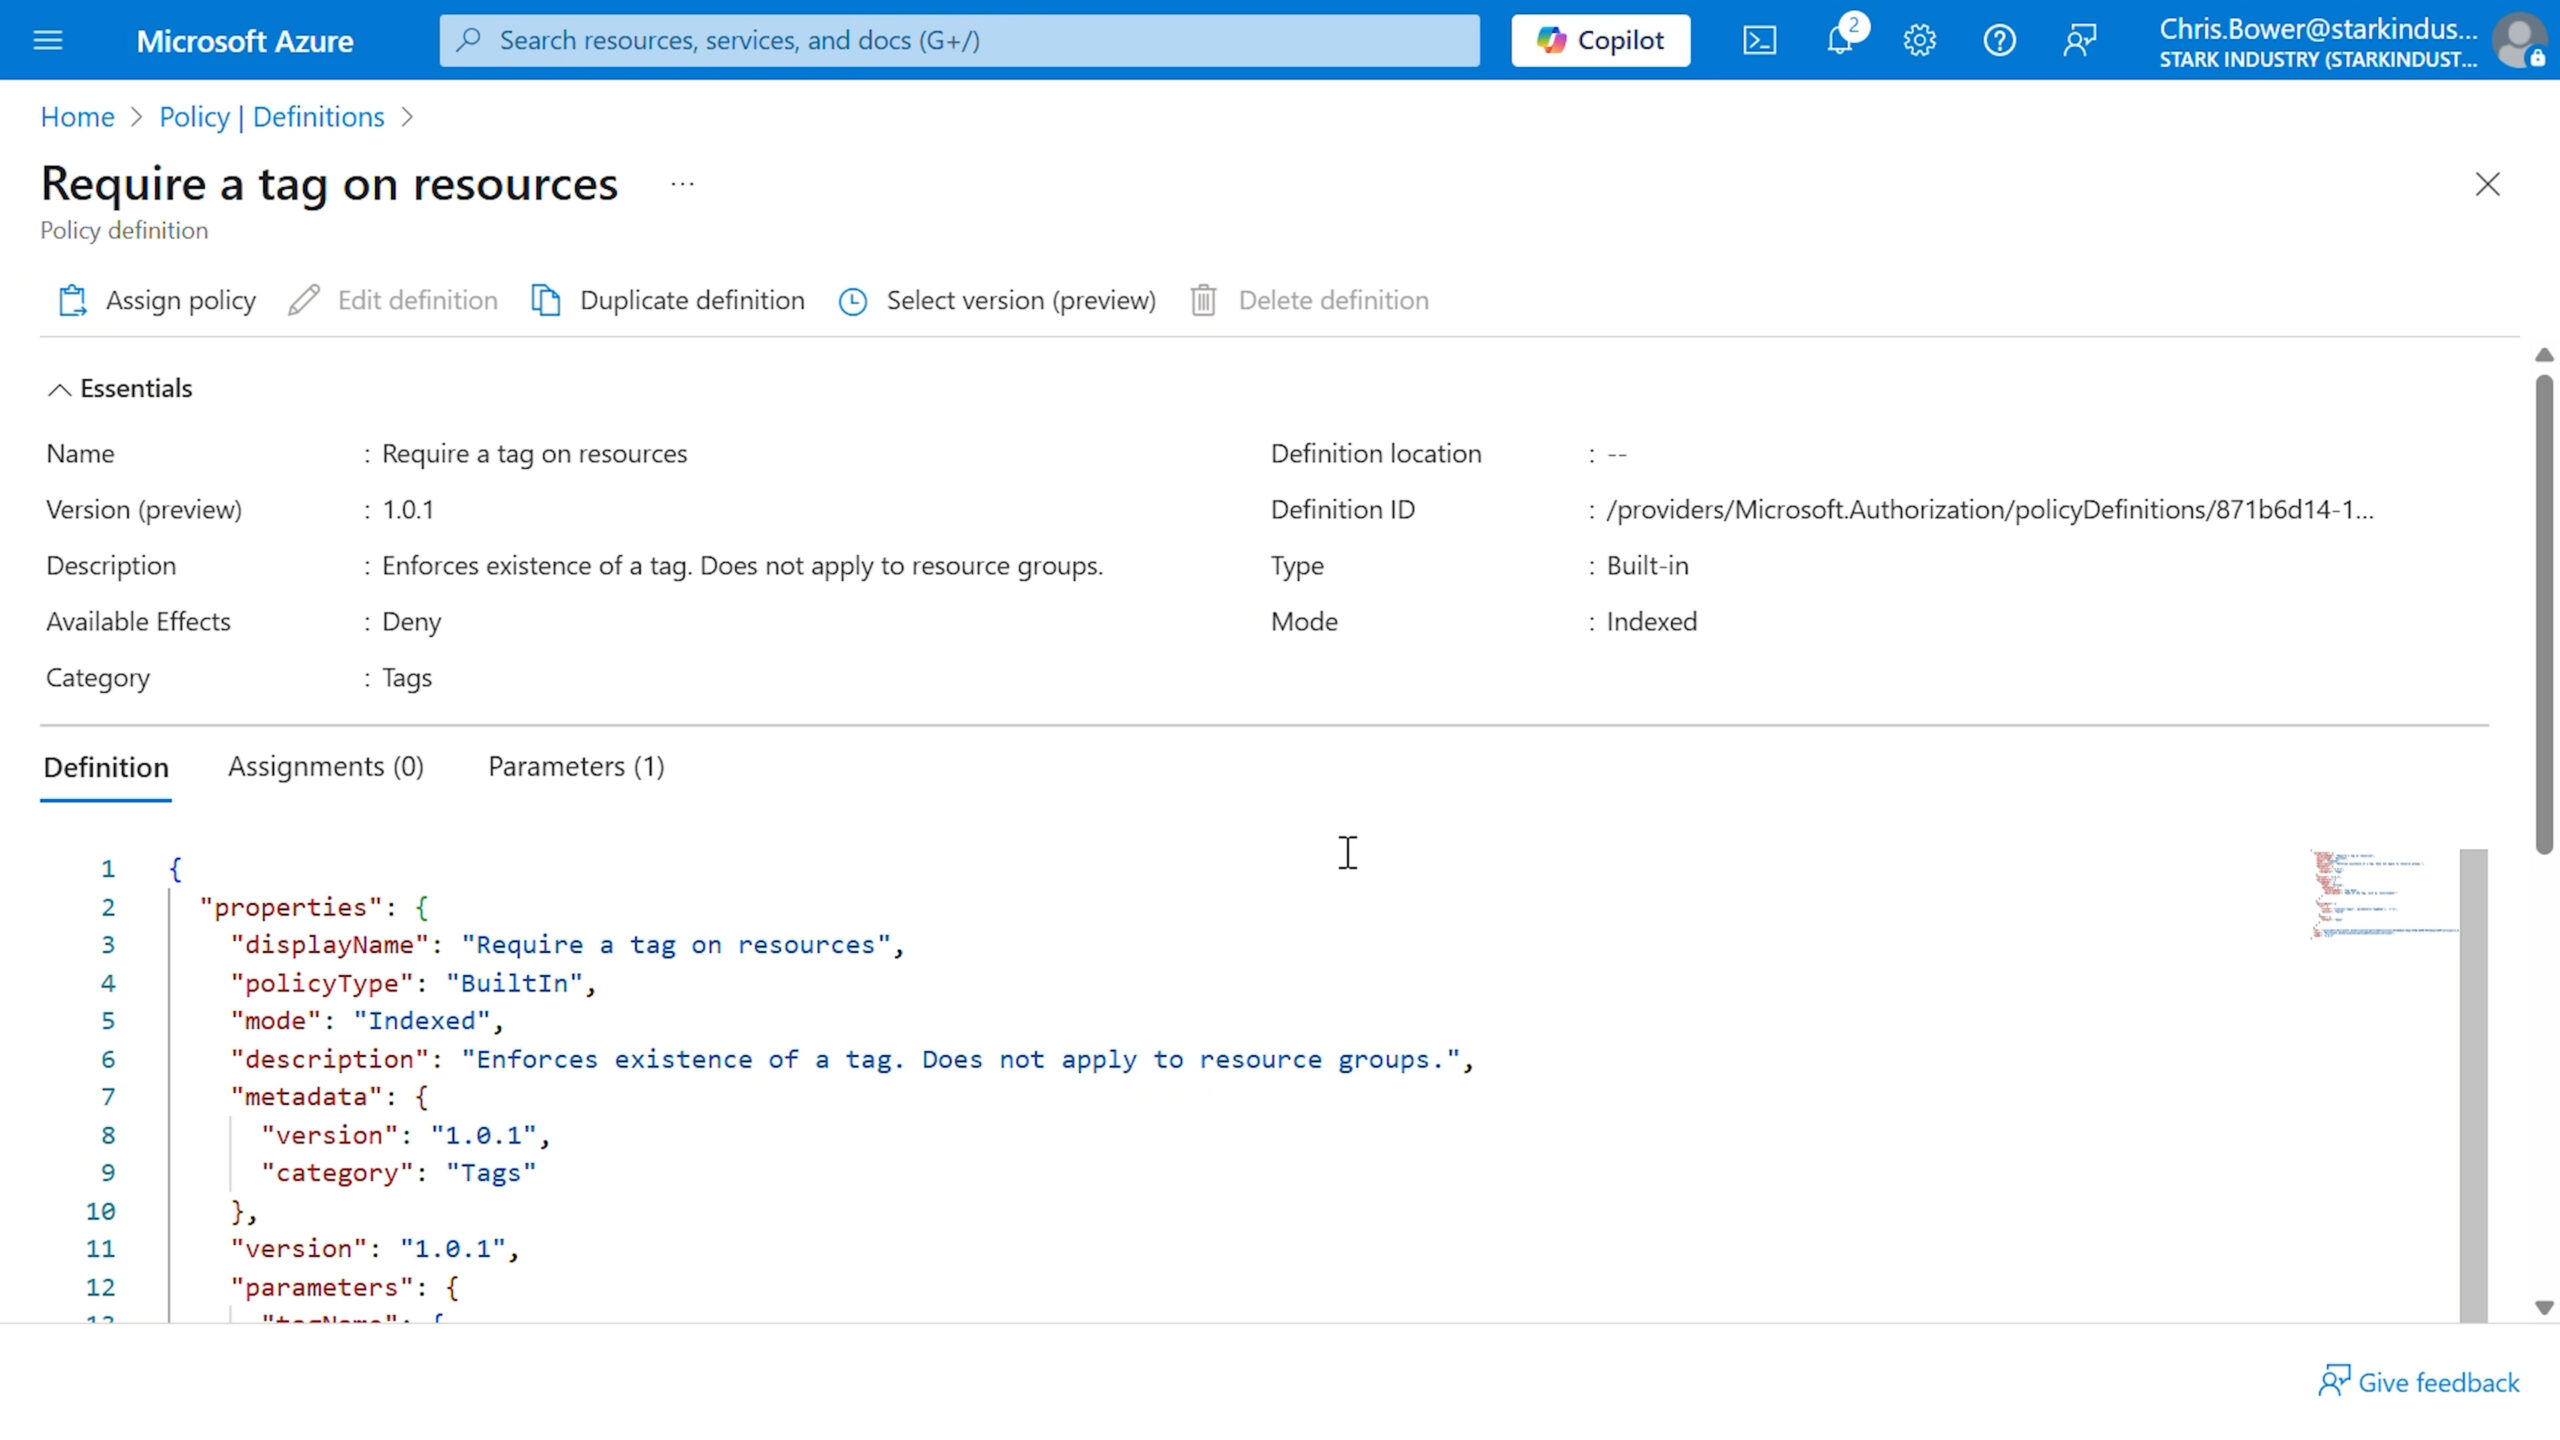
  3. Search for the built-in policy named “Require a tag on resources.”
  4. Select the policy and click Assign.
  5. Under the Basics tab:
    • Set the Scope—this can be a management group, subscription, or resource group.
    • (Optional) Give the policy a clear name that reflects its purpose.
  6. In the Parameters tab:
    • Specify the tag name you want to enforce (e.g., Environment).
  7. Click Review + Create, then Create.

That’s it—Azure will now ensure the tag is present whenever a resource is deployed within that scope.

Best use cases:

  • Cost tracking and chargebacks – Tag by department, project, or team to simplify financial reporting.
  • Environment separation – Ensure dev, test, and prod resources are properly grouped for clearer visibility.
  • Ownership tracking – Make it easy to see who’s responsible for what—no detective work required.
  • Automation – Tags make filtering, grouping, and automated workflows much easier.

Best practices:

  • Standardise your tag structure – Use consistent tag names and values across teams. Avoid variations like env: prod vs environment: production.
  • Focus on what matters – Start with a few essential tags. Too many mandatory tags can cause friction during deployments.
  • Roll out gradually – Test in a non-production environment before scaling up across the business.
  • Use initiatives – Group related policies together for more structured governance.

Enforcing tags might seem like a small task, but it gives you greater visibility, cleaner reporting, and a more structured approach to cloud governance. And with Azure Policy doing the heavy lifting, it’s one less thing your team needs to chase manually.

Control where your resources live with region restriction policies

Azure Policy Region Restrictions

This policy helps you keep tight control over where your Azure resources can be deployed. By limiting deployment to specific regions, you reduce the risk of accidental provisioning in the wrong place—and help keep your organisation aligned with regulatory, compliance, or performance goals.

Why you’d use it

Restricting resource locations is a common requirement for organisations dealing with data residency laws, compliance standards, or latency concerns. For example, you might want to ensure everything stays within UK South and North Europe to meet legal and performance needs.

How to set it up

  1. In the Azure Portal, head to Policy > Definitions.
  2. Search for “Allowed locations”—this one’s a built-in policy.
  3. Select it and click Assign.
  4. Under the Basics tab:
    • Choose your Scope (management group, subscription, or resource group).
    • Add a clear Assignment name.
  5. In the Parameters tab:
    • Select your approved regions (e.g., UK South, North Europe).
  6. Hit Review + create, then Create.

Once applied, any attempt to deploy resources outside your defined regions will be automatically blocked—keeping your environment secure, compliant, and consistent.

Best use cases

  • Data residency compliance – Meet regulatory obligations by ensuring data stays within approved geographic boundaries.
  • Performance optimisation – Keep workloads close to your user base or other dependent services to reduce latency.
  • Sovereignty requirements – Enforce rules around where data and compute resources are allowed to live (e.g., government or healthcare organisations).
  • Cost control – Avoid inadvertently deploying to premium or higher-cost regions.

Best practices

  • Align with Legal and Compliance teams – Confirm your approved regions with legal and risk teams before enforcing.
  • Review regularly – As business needs change, revisit your list of allowed regions to ensure it still fits.
  • Apply at the right scope – Use management groups or subscriptions for broad enforcement, and resource groups for more granular control.
  • Use descriptive assignments – Clear naming conventions make it easier to manage and audit policies later on.

Control what gets deployed with resource type restriction policies

Azure Policy Allowed Resource Types

This policy helps you decide exactly which Azure resource types can be created in your environment. By limiting deployments to a specific list—like virtual machines or storage accounts—you can reduce risk, cut down on bloat, and make sure every new deployment sticks to your standards.

Why you’d use it

Restricting resource types is especially useful when you want to maintain architectural consistency, avoid rogue deployments, or prevent people from spinning up services you haven’t approved. It’s also a great way to reduce your security and cost exposure.

How to set it up

  1. In the Azure Portal, go to Policy > Definitions.
  2. Search for “Allowed resource types”—this one’s built-in.
  3. Select it and click Assign.
  4. Under the Basics tab:
    • Choose your Scope (management group, subscription, or resource group).
    • Add a clear Assignment name.
  5. In the Parameters tab:
    • List your allowed resource types (e.g., Microsoft.Compute/virtualMachines, Microsoft.Storage/storageAccounts).
  6. Hit Review + create, then Create.

Once it’s live, any attempt to deploy a resource type outside your approved list will be blocked—keeping your environment lean, secure, and under control.

Best use cases

  • Preventing shadow IT – Block unapproved services before they cause problems.
  • Standardising architecture – Keep deployments aligned with your cloud blueprint.
  • Improving security posture – Reduce attack surface by limiting services to the essentials.
  • Avoiding cost surprises – Stop costly or unnecessary resources from sneaking in.

Best practices

  • Start with a known-good list – Work with your cloud architects to define what’s actually needed.
  • Use policy initiatives – Combine this with related controls (like tagging and region restrictions) for a full governance package.
  • Keep it tight, then expand – Start with a narrow list and loosen gradually if needed—never the other way around.
  • Name clearly, document thoroughly – Use naming conventions and descriptions that make policy intent crystal clear for future admins.

Ready to Take Control of Your Azure Environment?

Azure Policy is your secret weapon for keeping cloud chaos in check—automating governance, enforcing rules, and helping you avoid costly mistakes before they happen.

Synextra are the Azure experts who know how to build policies that actually work, tailored to your unique environment and business needs. Whether you want to get started, fine-tune your governance, or automate compliance across your teams, we’ve got your back.

Want to stop chasing rogue resources and start running a cleaner, safer, and more compliant Azure estate? Reach out today, and let’s make Azure Policy work for you—so you can focus on what really matters.

Subscribe to our newsletter

Stay ahead of the curve with the latest trends, tips, and insights in cloud computing

thank you for contacting us image
Thanks, we'll be in touch.
Go back
By sending this message you agree to our terms and conditions.